

Being a digital marketer, dealing with different types of data is what I do. In addition to that, every client comes with a different request. Well, everything is fine till that point. The real problem starts when they start to share data from a different file format.
I use the latest mac operating system; I am pretty much confident in my machine. But when it comes down to handling different data types, it is certainly not made for that.
When I started my journey as a digital marketer, I had no idea how to monitor remote workers that simple data sharing can be complex. Whenever I received data from my client to create concrete for them, the data allowed “Read-Only” action.
Later, I came to know that these problems were due to different file formatted data. Now that I know the problem and the reason behind the problem, I started looking for NTFS for Mac. During my research, I found this.
The “Mac Vs. Windows” Debate
The “Mac vs PC” debate has been soaring for over a decade. Some consider the Windows operating system to be the best, while some consider the Mac operating system. However, I have used both the operating system, and this is what I believe.
Both operating systems might be designed to work as operating systems, but the roots are different. If I compare the two operating systems, Windows is more convenient, and Mac is more premium.
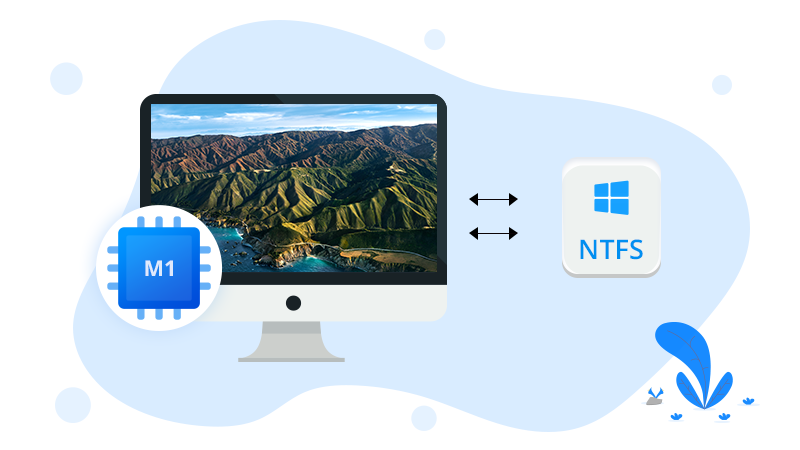
One of the major elements of the debate that people raise is that NTFS formatted files are not supported in the Mac operating system. Hence, it restricts the max user from reaching complete fluency of their work.
How Can You Use NTFS Formatted Data on Mac?
While looking for a solution, I came across iBoysoft NTFS For Mac. I was thrilled to see how effective this software is. It has all the elements you need to access an NTFS formatted file on your Mac operating system. The software is not a free NTFS for Mac, but you can download and try 7-day free trial.
- Download & Install: The first step is to download and install the iBoysoft NTFS for mac. Visit its official website and select NTFS for Mac. The process will hardly take time.
- Connect the NTFS Formatted Hard Drive: After the installation is complete, your system will run some operation of its own. Now try connecting the NTFS hard drive. The file will now easily be accessible and allow you to initiate both Read & Write operations.
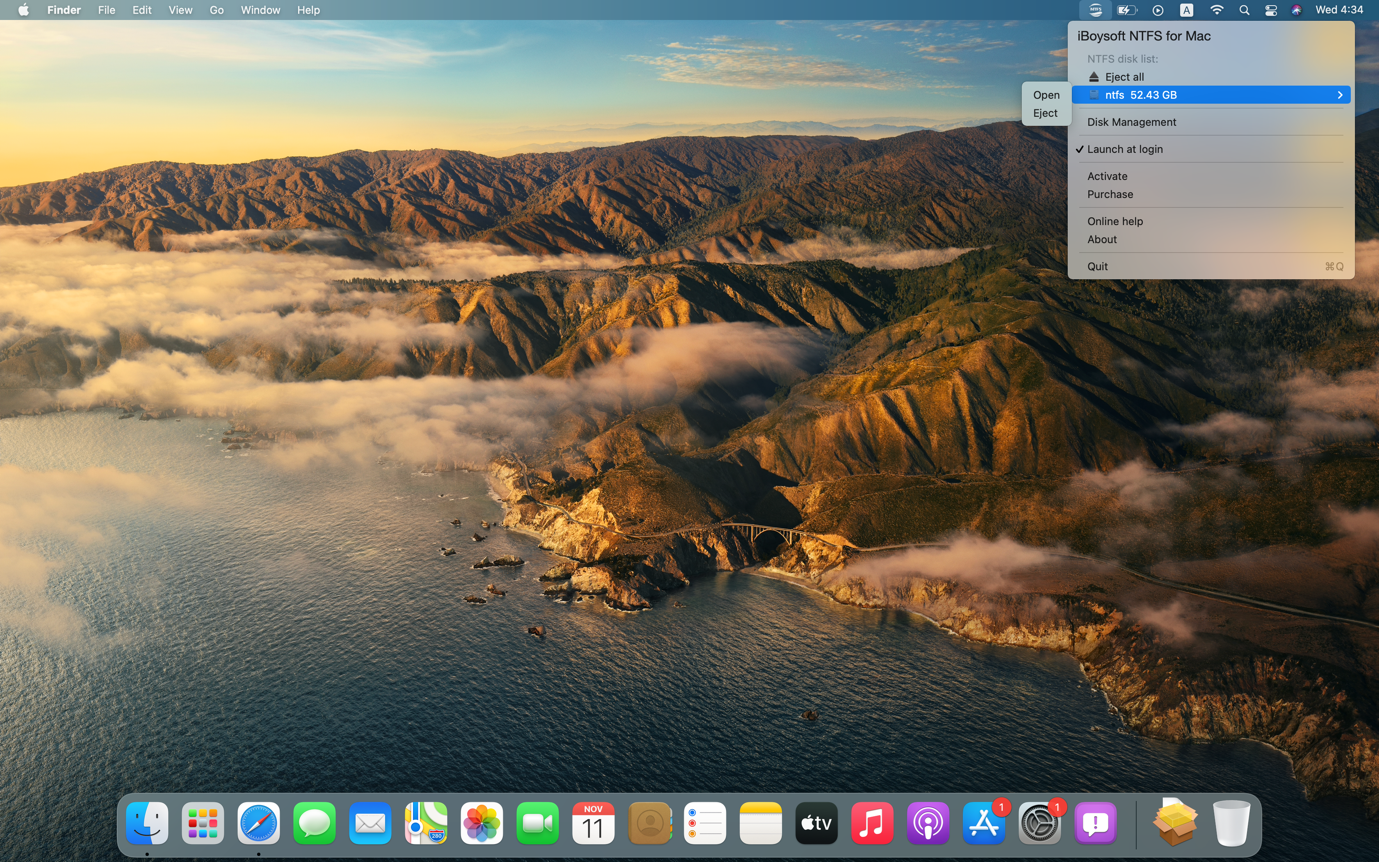
The best thing about using the iBoysoft NTFS for Mac is that you don’t have to worry about activating it every time you have activated this software every time you connect a new NTFS formatted file.
Whenever you connect an NTFS formatted file, your system shows you a notification that lets you know you are accessing a different file format.
Frequently Asked Questions
While I was going through our readers’ email, I came across several queries. I thought of using this opportunity to answer the most asked questions.
Is iBoysoft NTFS for Mac Safe?
Yes, iBoysoft NTFS for Mac is perfectly safe for use. It has its official website from where you can download NTFS for mac software. The website is highly secured.
Can macOS Read NTFS?
No! The Mac does not support the NTFS file format. But the following methods can help you access NTFS data on mac.
- Using a terminal to access NTFS files.
- Third-Party software (The one I Have talked about in this article).
Take Away
There you have it; now you know how you can access NTFS formatted data on your mac operating system. Here you must be wondering why I have recommended iBoysoft NTFS for Mac.
The reason is simple for us; it offers a one-month free trial for the new users to get a hold of how this software works. Once you get the hang of it and want to enjoy premium features, you can always go for a paid subscription.


![ExtraTorrents Proxy List For 2020 [100% Working Proxies To Unblock Extratorrents]](https://www.troozer.com/wp-content/uploads/2020/08/extratorrent-cd-640x360-1-250x250.jpg "ExtraTorrents Proxy List For 2020 [100% Working Proxies To Unblock Extratorrents]")


